


This really is my Wednesday evening post - I started at 10pm but had to edit all of my photos. I'm sooooo slow!!!
Well, several people have asked about the rose on my sister's birthday card. Well, I found the tutorial that I followed here. It's an awesome tutorial and easy to follow.
Here's how I made mine - I just changed up the way that I cut the rose bases. I used Spellbinders(TM) Nestabilities(R) Dahlia and Standard Circles LG (see how I scribbled it on my deskpad so I'd remember? tee hee).

Cut three 4" squares of designer paper. Mine is double-sided, just slightly darker on one side. Place your die templates on your mat as shown - you'll see why you need the circle in a minute.
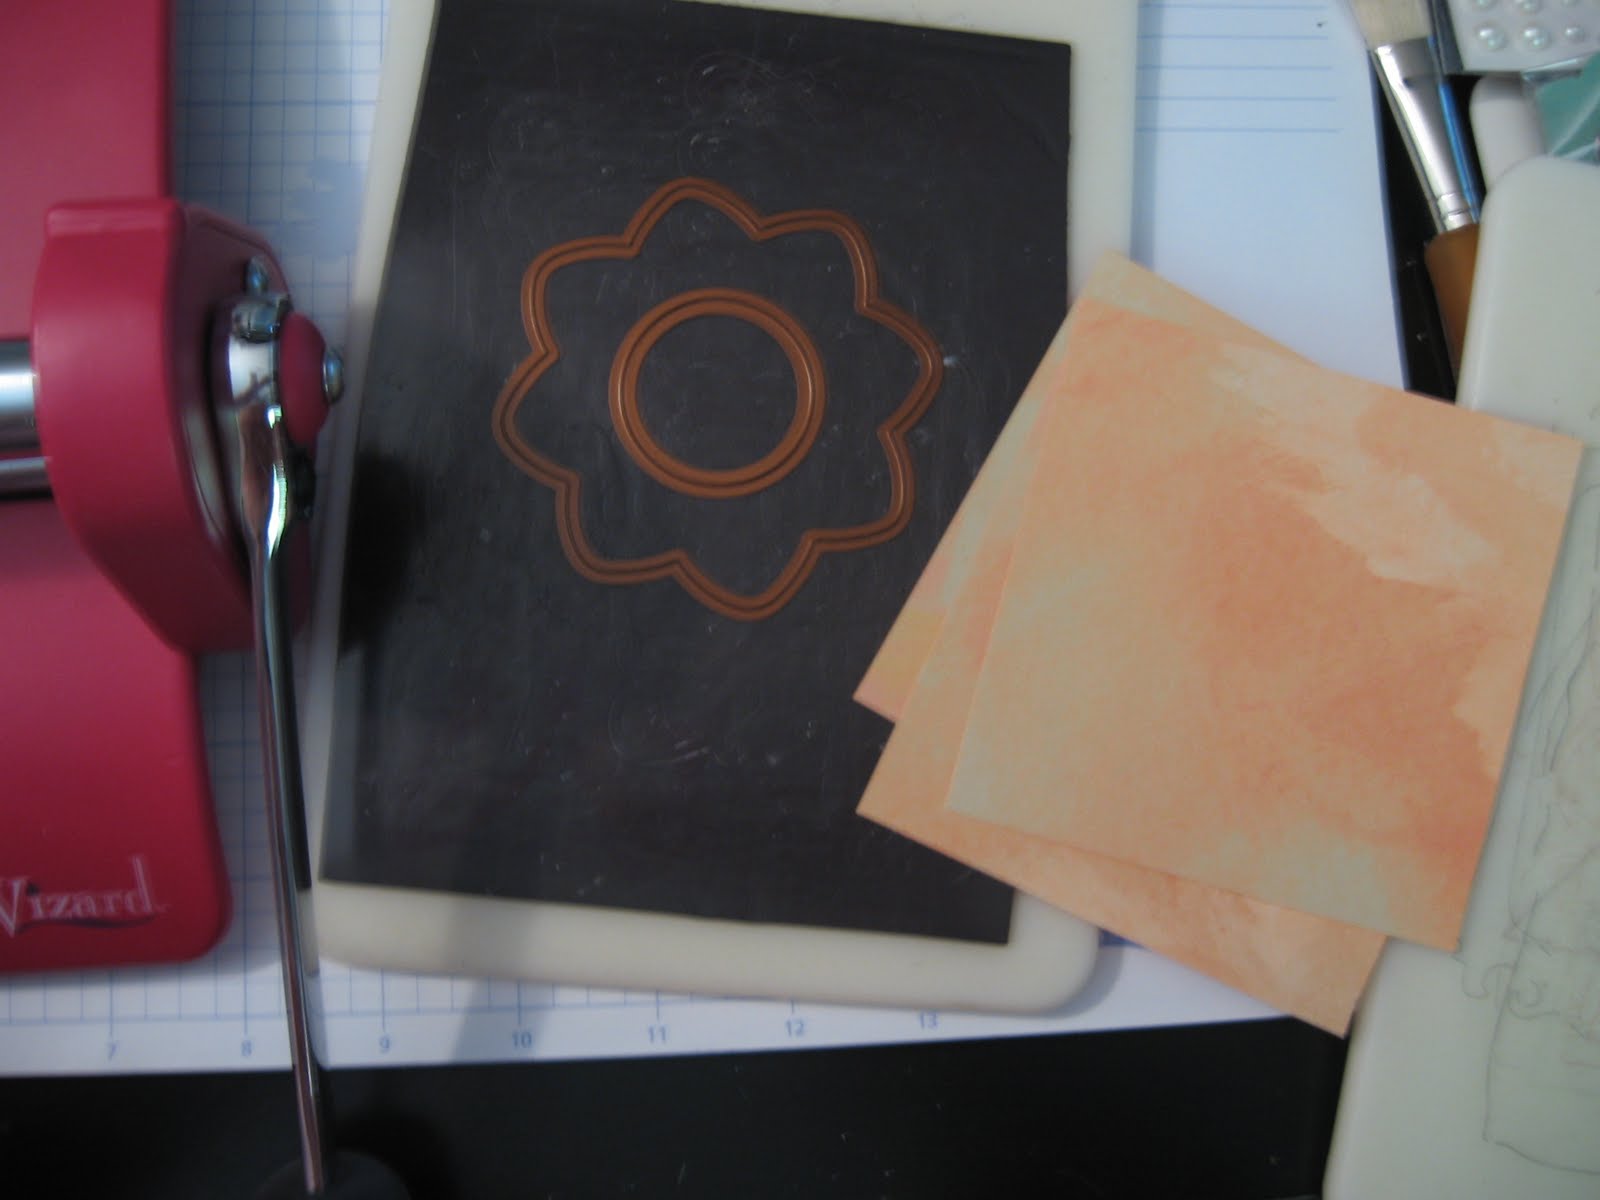
Now, there's no need to emboss the paper, so I went ahead and cut all three papers at once to save time.

Save one of the 'leftover' circles - we'll use it later as our rose base. Cut the three 'flowers' as follows (my picture's not exactly right, so 'do as I say, not as I do' - ha!
1. Cut one piece so that you have a section with six petals and a section with two petals.
2. Cut the second piece so that you have five petals and a section with three petals.
3. Cut the last piece so that you have a piece with four petals, one petal, and a throw-away piece with three petals.

Sponge the outer (petal) edges with a coordinating ink.

Using a toothpick, skewer, or piercing tool (I call mine my 'poker' - I'm just sayin'......), curve all of the petal edges under.

Here's how it looks on one side - you can see the other side of the petal directly underneath my hand. Now, using the largest section, wrap it around so that the first petal 'covers' the last petal; glue with a strong adhesive. See the piece just below, next to my watermark, for an actual photo. Now, if we had not cut that circle piece out, the flower would have been super tall, right? It will still be three dimensional, but not insanely so - ha!

Now, the sections with two and one petal are going to be at the very center of the flower, so instead you will roll them up vertically (photo above) after you've rolled the edge under.

Stack the layers together as shown above. Pretty, right? Smear that circle (that you saved from step one) with adhesive. I used Aleene's Fast Grab Tacky Glue in the purple bottle. It really is goopy and holds your project together rather quickly so you don't have to sit there and hold it forever.

Place your layers on the circle, press to adhere, and voila!!!! A lovely, glorious rose!!
Go ahead and try some for yourself. You can see the size that a 4" square will make. Try smaller ones, make some leaves and you're set! Link yours here so we can all admire them!
Now, for the blog candy! I promised blog candy on Monday's post. And I finally took a photo! Here's what's included:
- A full-sized acrylic stamp set, "Holiday Warmth"
- A tiny stamp set in its own cute little package!
- The most awesome bone folder you'll ever use
- Rhinestone frames
- White flowers
- Shimmery adhesive-backed pearls
- A large roll of black/white floral grosgrain ribbon
- One of my favorite cards :-)

And the winner is.......................
JessicaK!!!! Thanks to everyone who left a comment. You're awesome!
Jessica....e-mail me so I can get your goodies in the mail!
I'll be back this weekend with a 'twist' on my Spellbinders Blog Frenzy project.
Thanks again,


5 comments:
Deb, that rose is so awesome! Thanks for sharing the tutorial and your version ROCKS with the die template. I don't have that one, but will try using another blossom die!! The coloring on yours is beautiful!
Thanks for posting this tutorial, Deb! My stampin' daughter really tried to follow a couple of other tutorials on how to make the roses from Convention but didn't turn our pretty - yours will work, I'm sure!
Beautiful, Deb! LOVE your rose.. thanks for sharing the tutorial.. I will definitely be trying this very soon!!
Holy smackaroos Deb!!! Your card is gorgeous & your tutorial knocked my socks off!!!! Thank you so much for sharing this tutorial :)
Just emailed you Deb
Post a Comment